VKB Sim: Difference between revisions
add youtube link to curve |
|||
| Line 49: | Line 49: | ||
Anything under is under-response (finer control) and anything over is quick-response at that level of deflection. | Anything under is under-response (finer control) and anything over is quick-response at that level of deflection. | ||
<youtube>rSi11U5J6tg&t</youtube> | |||
https://www.youtube.com/watch?v=rSi11U5J6tg&t=3s | https://www.youtube.com/watch?v=rSi11U5J6tg&t=3s | ||
Revision as of 06:10, 12 October 2023
http://forum.vkb-sim.pro/index.php Official forum
Videos
How to install OTA on the Gladiator NXT/EVO
Software tutorials - Exploiting the ministick
Calibration
Go to Tools in the top, then on the bottom to Test and in the middle to Axes. Click start calibration, move all the axes fully, maybe click on pov hats and then move them all the way as well. After having done this, end calibration.
Setting up responsiveness curves / s-curve and deadzone
http://forum.vkb-sim.pro/viewtopic.php?t=4377
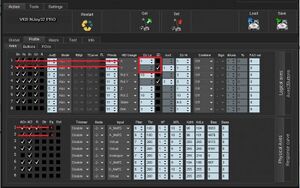
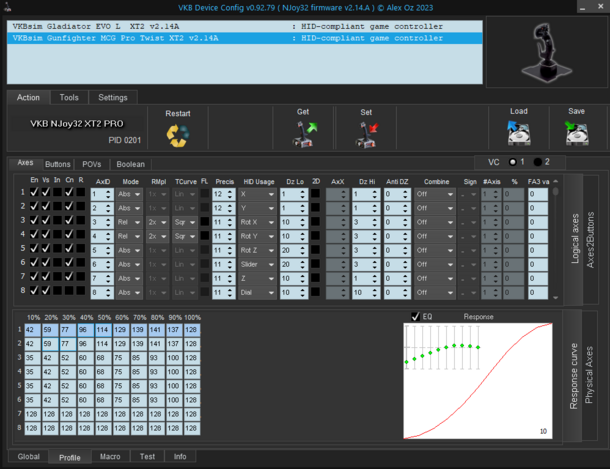
If you want to have custom curves first thing is to identify the name of the axis you want to apply the curve to; could do this in the tester, let's say you want to apply same curve on pitch and roll, they're recognized as X and Y axes. Then go to Profile/Axes/ Logical Axes and find the number of those axes; for this example they are number 1 and 2. Now in Physical Axes panel check the Eq box for axes 1 and 2 - this means the curve will get applied on these axes. If you want to modify the deadzone you could do it in the Logical Axes panel, under DzLo; if the 2D option is active the deadzone will get applied for both axes.

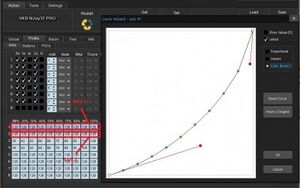
Now go to Response Curve panel and click on the large white box when the first row is marked. In the new window draw your preferred curve, but be advised that what you see is just half of the curve with the lower deadzone in the lower left corner (the invisible lower half is mirrored). When done click OK so the window will close. Do the same after you select the second row
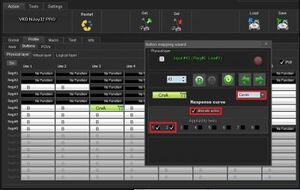
This way the curves will get permanently applied to your joystick. Setting up the curves in the configurator is more precise than setting them up in game. There's also another option to get the curves on. Let's say you want the standard, unmodified curve for general flight and another curve for dogfighting. In this case you'll have to leave the Eq boxes empty (unmarked), fill up the curves as explained above and set up a button that will activate the modified curves:select the Poll option on the left side, press the button you want to be the curve modifier and click on the blinking button on the chart. Set up that button as Curves. Make it Alternate if you want the curves to stay active after releasing the button; you could revert to original curves by pressing the button again. You could leave the Alternate action box empty if you want the curves to stay active only as long as the button is pressed. Check the axes numbers below for the axes you want to apply the curves to (in this case 1 and 2). As usual, press Set button at the end. This way the curves are only temporary applied to your joystick.

From https://www.reddit.com/r/hotas/comments/rm8c7z/some_help_with_vkb_curves_please/
Suggest values something like this for - classic S curve:
- 10% - 60
- 20 - 80
- 30 - 95
- 40 - 110
- 50 - 128
- 60 - 135
- 70 - 150
- 80 - 165
- 90 - 145
- 100 - 128
Gives finer control for 1st 50% of deflection, then high response (when you need to turn/thrust fast) in 2nd 50%, tapering off to normal response at max deflection.
Numbers themselves can be adjusted - if you want super fine control in the 10-30% zone put lower numbers.
Basically all values of 128 would be a flat response curve where moving 10% deflection gets 10% turn response etc.
Anything under is under-response (finer control) and anything over is quick-response at that level of deflection.
<youtube>rSi11U5J6tg&t</youtube>
https://www.youtube.com/watch?v=rSi11U5J6tg&t=3s
My Curve

Sticks
VKB Sim Gunfighter MK III Modern Combat Grip Pro
Hardware
Thingiverse 3D hat / castle collection: Hotas & FlightSim POV/Hat Switches - 2 ways, 3 ways, 4 ways! Tons of variations of switch tops! (INCLUDES SOURCE SKETCHUP FILES)
How to create template files
Download pictures from vkbcontrollers.com
Use the following guide to convert the pictures to black and white pencil drawings in GIMP: How to Convert an Image to Pencil Drawing in GIMP
Import the pictures into one of the SVG files in Inkscape. Rearrange and copy / paste the boxes (the NXT EVO guide is easiest to edit, it has groups)
Export as a PDF in Inkscape
Open the PDF Adobe Acrobat. Go to Tools -> Forms -> Create. Import from the open PDF. Once they are there you will need to make slight corrections. You can copy / paste fields, resize and rename them. Double click for properties. Certain properties you can edit if you select all the fields. Make sure the fields are multiline.
